
Before/After crown molding Before/After Pinterest
4. Place Molding Above Kitchen Cabinets. To really make a room pop and feel grand, take crown molding from the top of the upper kitchen cabinets and extend it all the way up and out, so it fully covers the space between the cabinets and the ceiling. This will make a kitchen appear larger than life. 5.

Installing Crown Molding The DIY Life
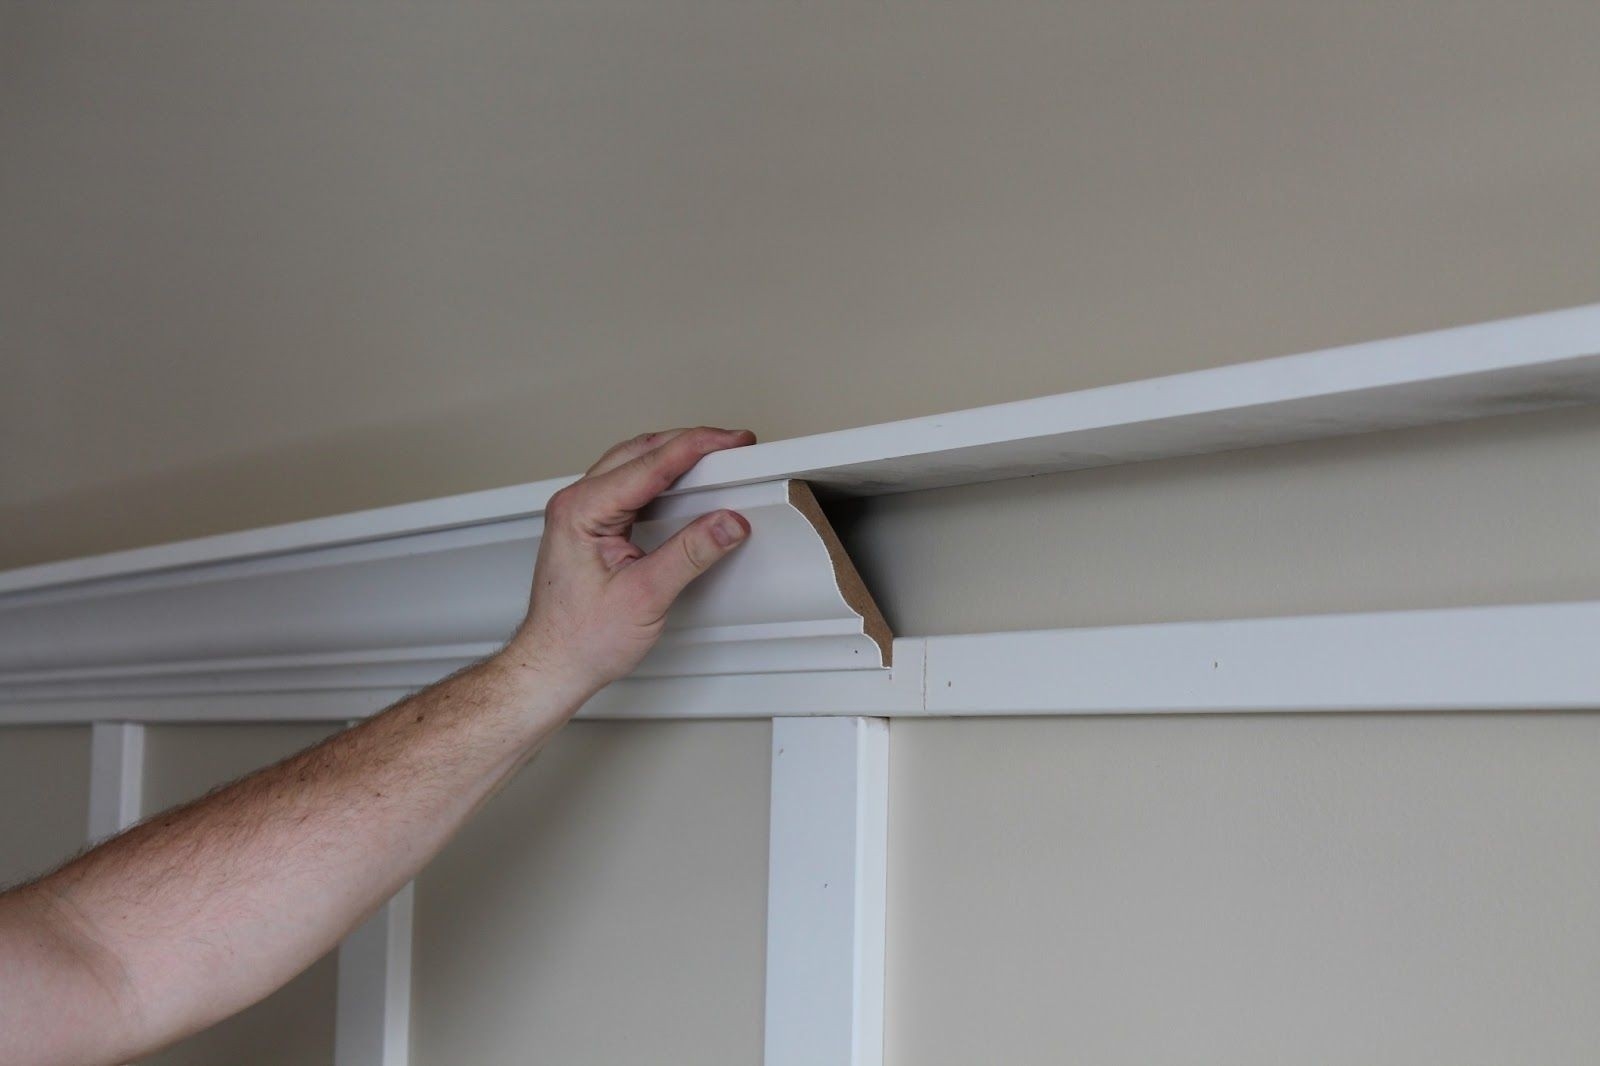
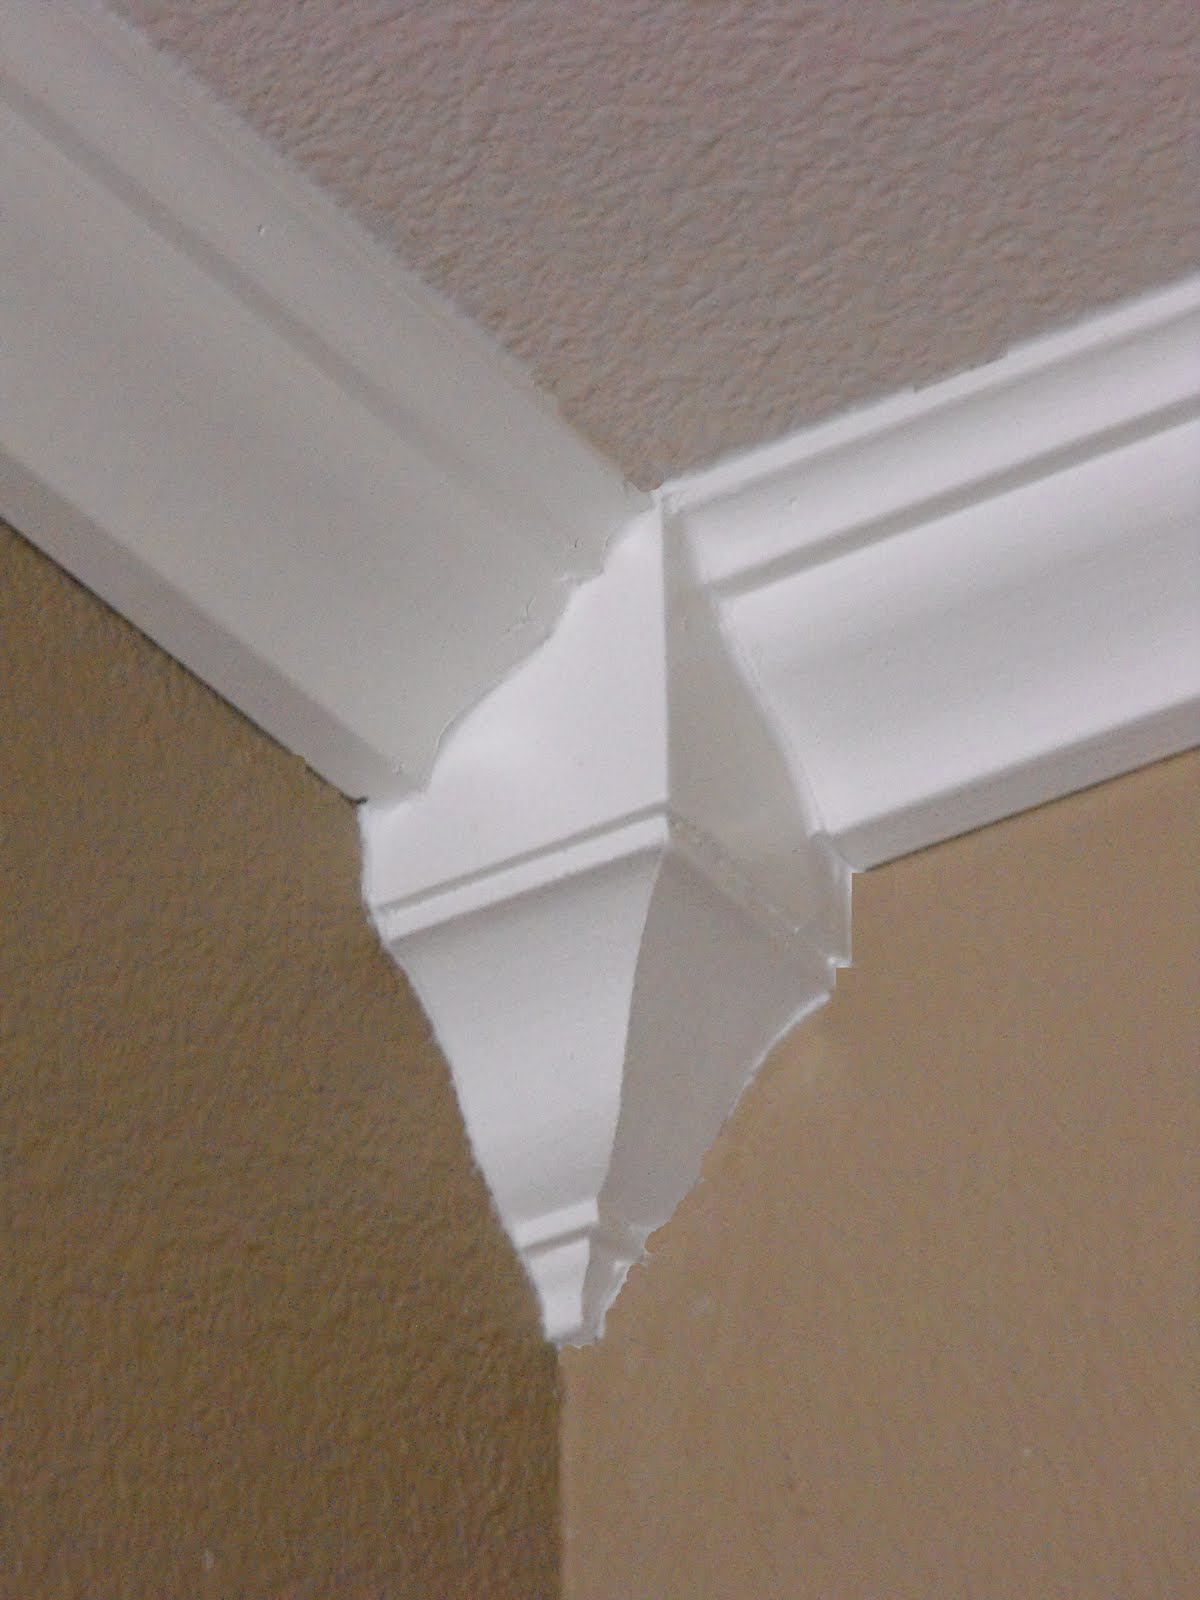
An inside-miter cut defines the profile of the cope. Angled between the ceiling and the wall, crown molding inhabits a three-dimensional space, making it one of the most demanding types of trim to install. When the wall turns a corner, crown makes two turns: One is along the ceiling plane, and one is along the walls, requiring compound cuts to.
Crown Molding Shelves Foter
Set the saw to a right-hand 45-degree setting. Hold the first molding piece to the right of the blade, and cut. Hold the adjoining piece to the left of the blade, and cut. Pilot a hole in the overlapping molding, ½ inch to the side of the joint, and attach with 6d finish nails. Step 4.
Trends in Crown Moulding and Wainscoting
Gracing an Archway. 5 /10. Elevate an archway by encasing it in crown molding. This sweep of trim can turn an indistinct threshold between two rooms into a meaningful transition. Use this idea to.

Jake Crown Moulding San Francisco, CA The Moulding Company
This handsome organizer, made from beadboard, crown molding, stock lumber, and a leftover tin ceiling tile, keeps all the necessities within arm's reach. Make one for yourself, and you'll be out the door with your pooch in record time. For full step-by-step instructions, shopping list, and tools list, see How to Build a Wall-Mounted Pet.

Pin on For The Home
And that's even before you hit the television. This paint color placement actually makes the room appear shorter and the trim molding less expensive. So here's the crown molding hack: by applying the white trim color in the same finish (semigloss or satin) on the small amount of wall area between the trim pieces, the room appears taller. At.
a little of this, a little of that Crown MouldingYou CAN do it!
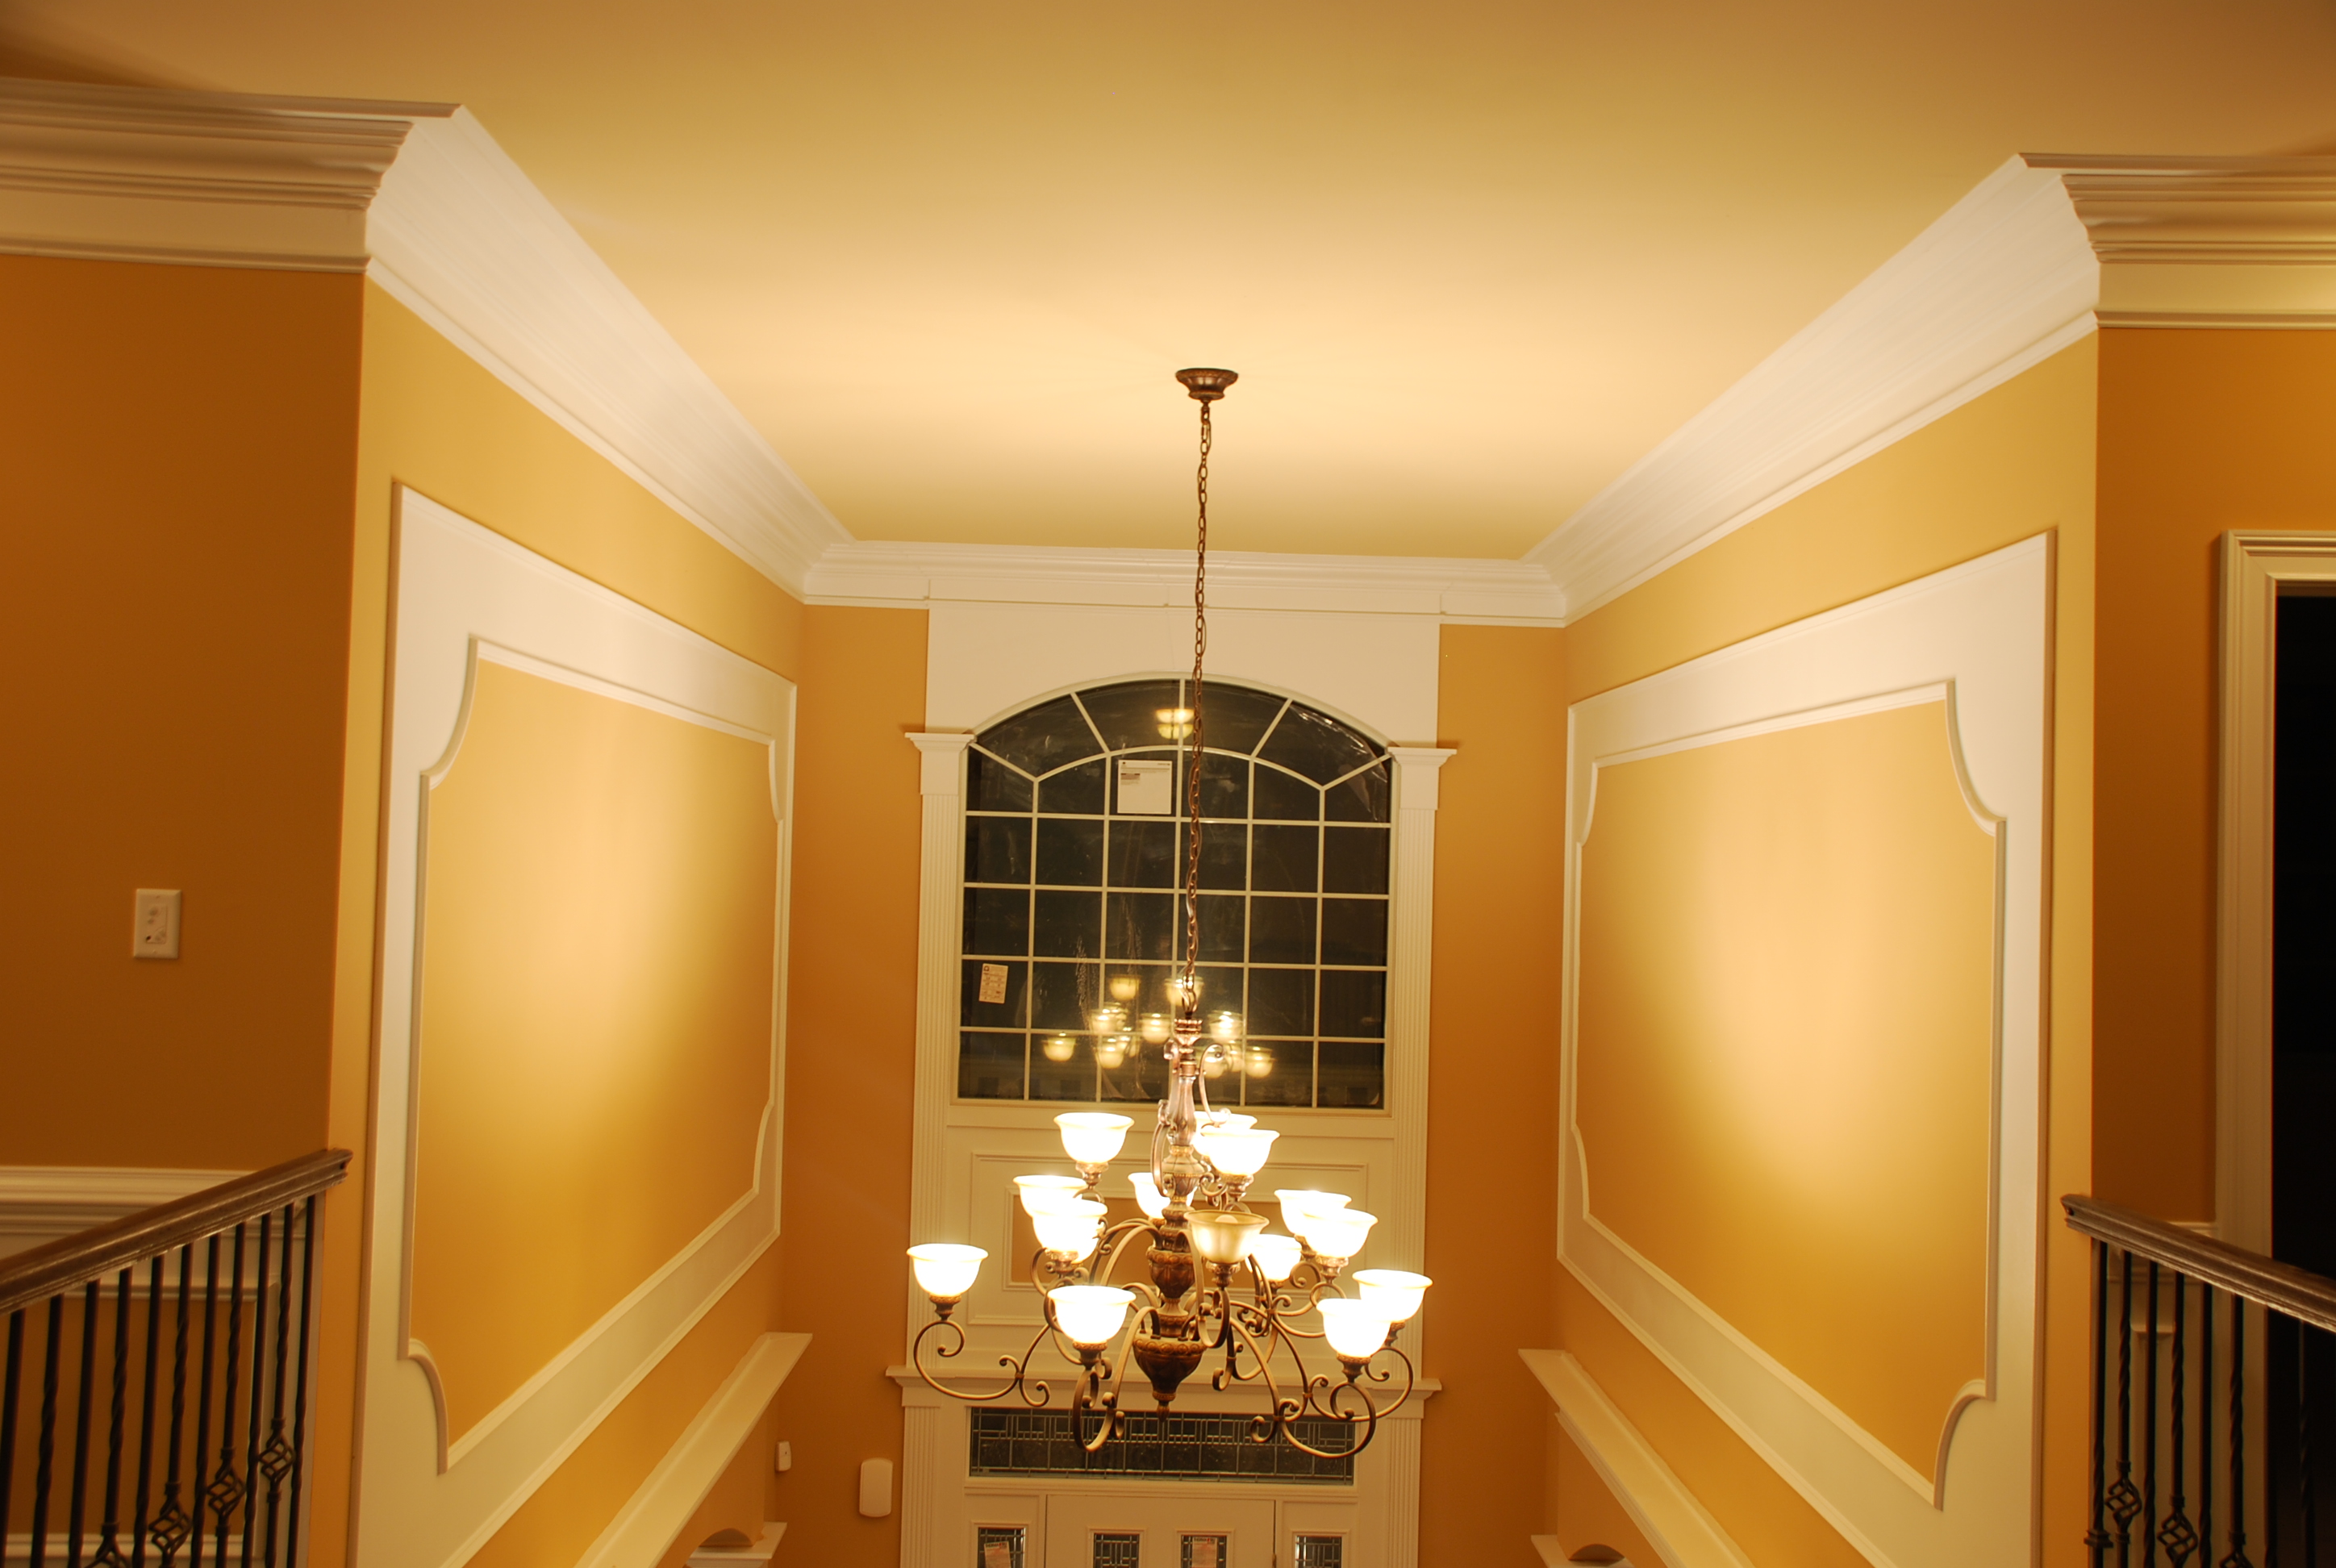
The only difference between installing this crown molding and one like CROWN MOLDING-103, is this ornate acanthus leaf pattern has to match where you splice pieces of the crown together.. What is a Molding Return? Do you see how the crown molding terminates at the corner above the sconce?

Crown Moulding Before & After Install Kitchen Results Foam
Wood crown molding is the industry standard, and you can choose from paint-grade pine or, if you prefer to stain the trim, a variety of hardwoods, including ash, oak, and walnut. Simple wood crown.

Before and after front door crown moulding and Annie Sloan Graphite
Transform Your Space with Elegant Crown Molding - Order a Free Sample Today! Get 3 Free Crown Molding Samples. Find the perfect crown today!

This is a crown molding detail. We used a simple crown molding with a
Darken the cut edge of your piece with a pencil. Use a coping saw to back-cut the molding along the profile. Cut at a 45-degree angle. This will create space for the coped piece to fit tightly.

13/4in x 8ft Pine Primed Finger Joint Crown Moulding in the Crown
Molding Profile: Beads and Curls. Photo by Wendell T. Webber. A dough-like mixture of sawdust and resin forms the decorative beading and the "lamb's tongue" motif on this paint-grade crown. Shown: 5¾-inch-high CM8856 in poplar with composite details, about $11.75 per linear foot; White River Hardwoods.

EverTrue 37/8in x 8ft Primed Polystyrene Crown Moulding in the Crown
Glossy Finish Modern Crown Molding. Classic white it the most common color of crown molding. To make yours more modern and kick it up a notch, choose a high-gloss finish. The glossy, dark teal color on this crown molding and trim by @mif_painting is unexpected and refreshing. Originally Published: December 07, 2021.

How to Install Crown Moulding
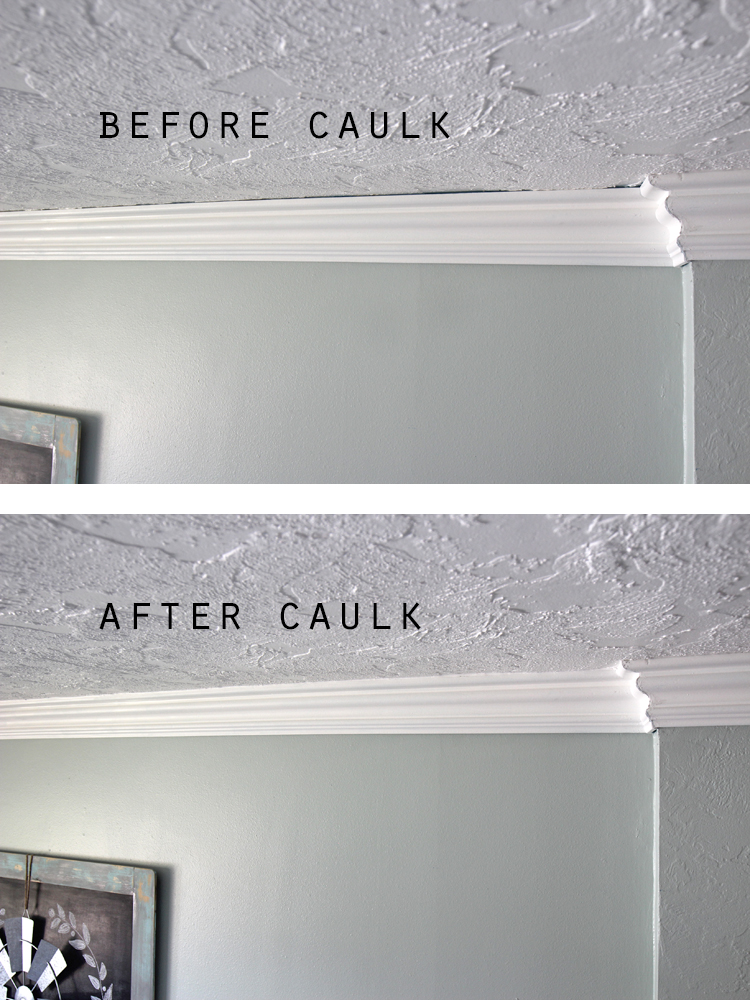
For an industrial-strength crown molding installation, always glue every single contact surface of your installation. The cornice and lower detail in the picture below are glued and nailed in place. The glue is Liquid Nails and the nails are 18 gauge brad nails. Make sure you nail the lower detail to the studs.
/Diningroomwithcrownmolding-GettyImages-145121522-85951b058d5f406cb48bd96375265b2e.jpg)
5 Thoughtful Crown Molding Ideas for Any Room
Before & After: Tall Craftsman Wainscoting in Dining Room. July 15, 2012. The Joy of Moldings. This is the dining room/kitchen of a typical, early 1970's style ranch home. The challenge decorating this kind of open floor plan is: how do you decorate in such a way as to set the "dining room" area apart from…. More.
The Craft Patch Everything You Want To Know About FOAM Crown Molding
Browse Our Huge Selection of Stylish Home Restoration Supplies. Lowest Prices. Shop Now!

What Rooms Should Have Crown Molding? See Ideas and Images
Fresh Faced Cabinets, Crestwood, MO 63126. 314-270-2747. [email protected]
