Tutorial How to Make a Warholstyle, Pop Art Portrait from a
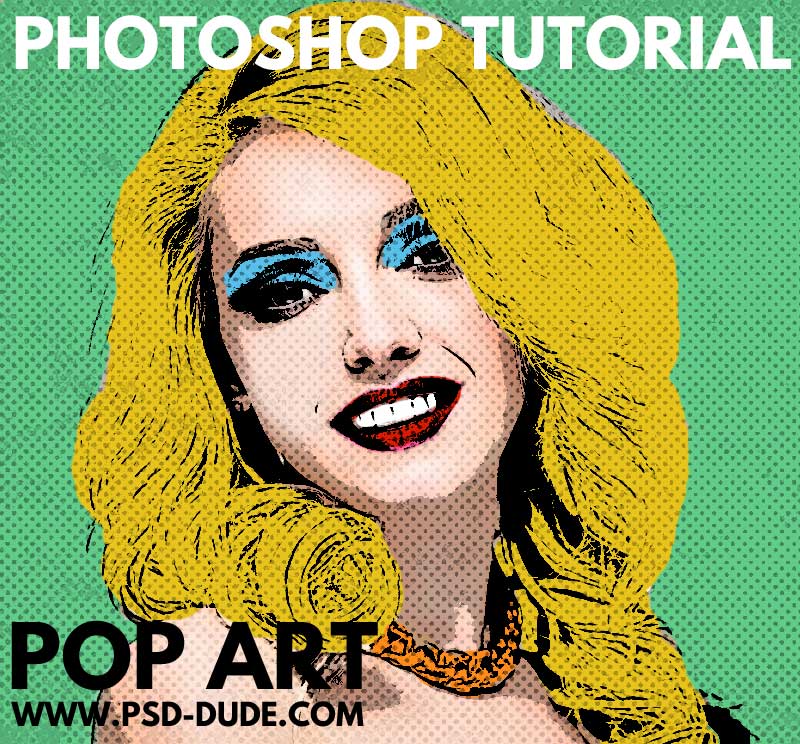
Pop Art Effects in Photoshop. Born out of the 1950s and 1960s, pop art captivated the world by blending of individual creative expression with the pop culture trends of the day. Television, advertisements, mass-market products, and comic books all became sources of inspiration for artists to create images both striking and meaningful.
30+ Pop Art Filter Gordon Gallery
My Effects Shop: https://justinodisho.com/shopAdobe Software Download: https://prf.hn/l/dlXjya5Support the Channel: https://www.youtube.com/channel/UCy7DyWXJ.
How to Add a Pop Art Filter to Your Photo Learn BeFunky
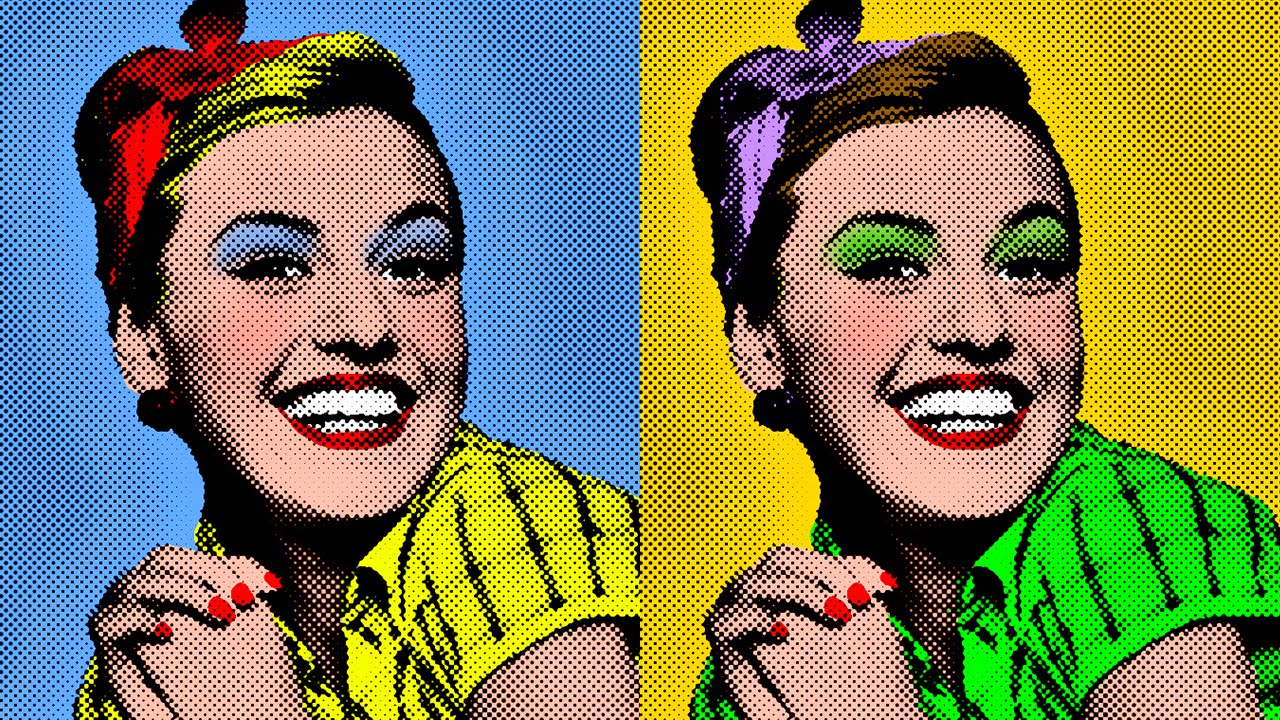
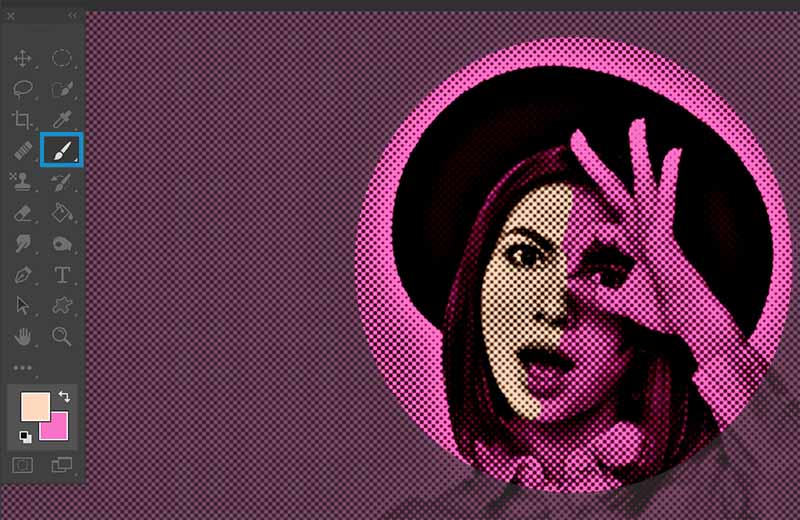
Step 1 - Open the Sample Image Open a photo to replicate pop art. I am using the Scarlett Johansson image for this tutorial but feel free to use your own image. Go to File > Open and open the image. Step 2 - Fill The Background
clip art filter Clipground
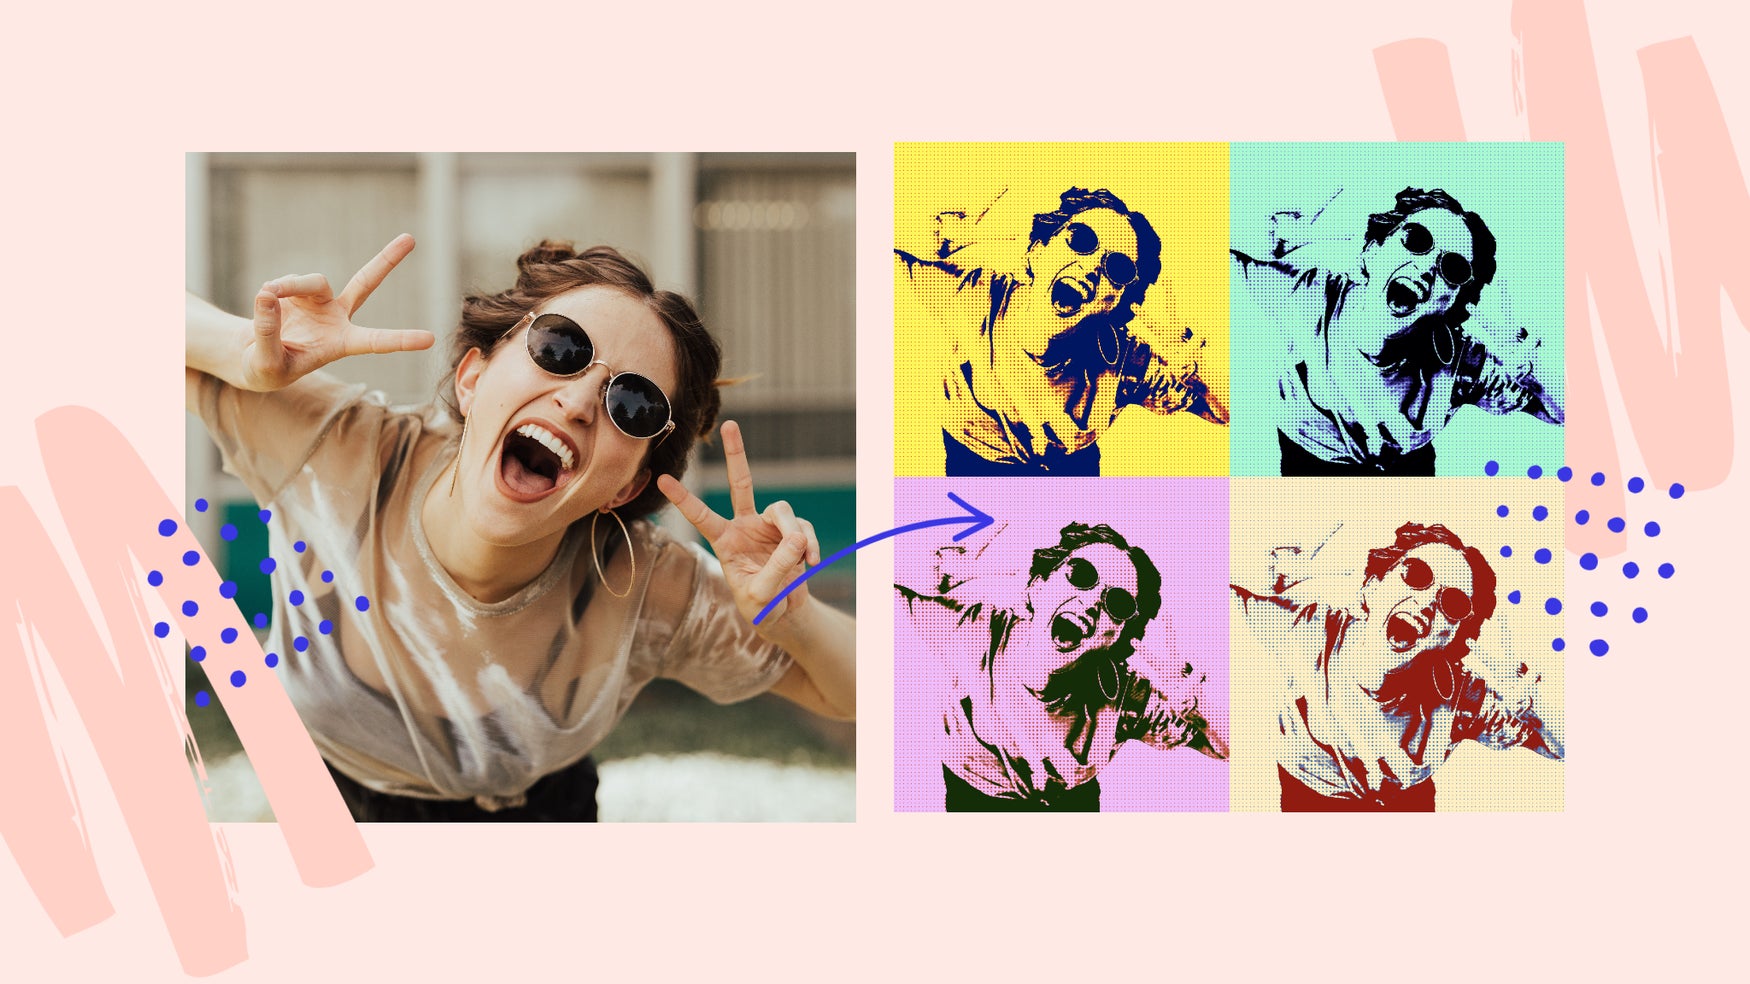
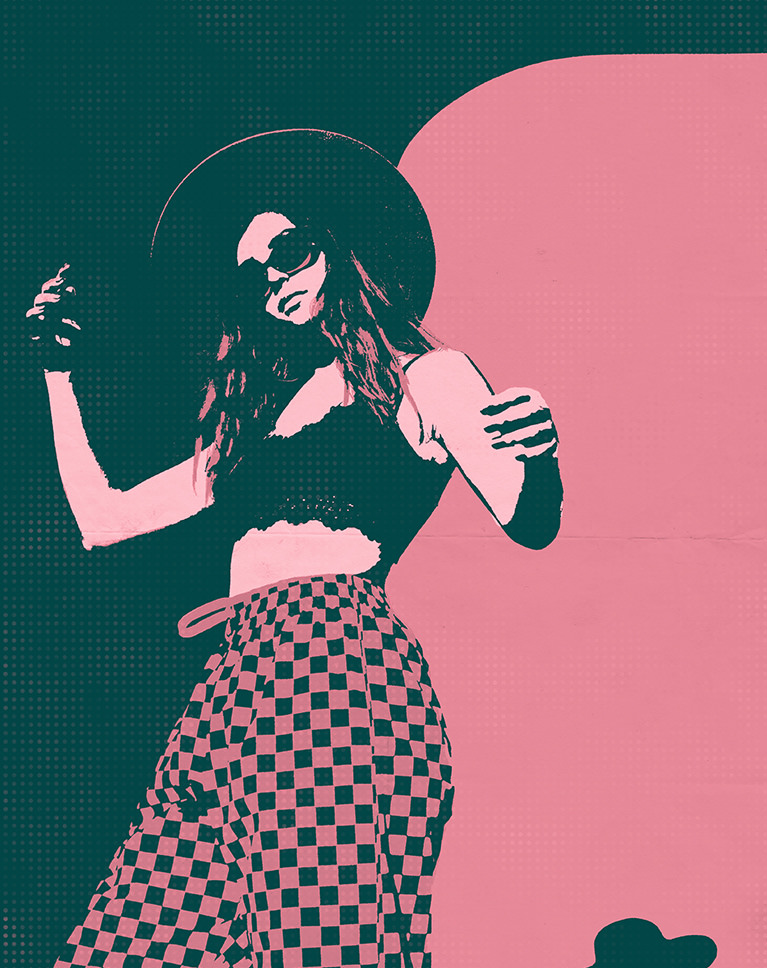
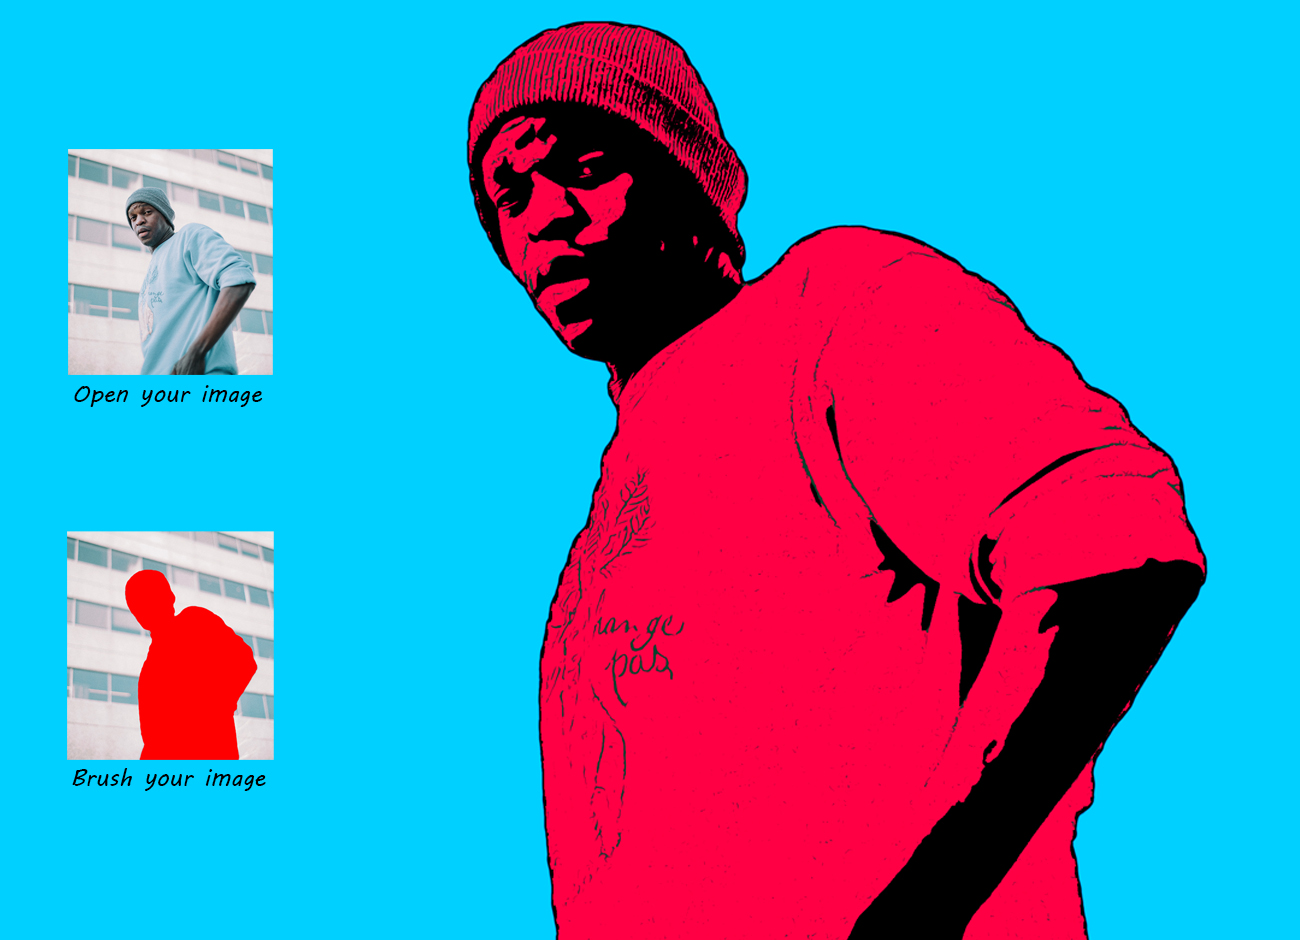
2. Add a Background Colour. Add a background colour or gradient behind the mask of your subject. Remember, this is POP art! The brighter, the more in your face, the better. Simply add a "solid color" or "gradient" adjustment layer, beneath the subject layer. 3. Add a Halftone Gradient Layer to the Background. Add a "Gradient.

30+ Pop Art Filter Gordon Gallery
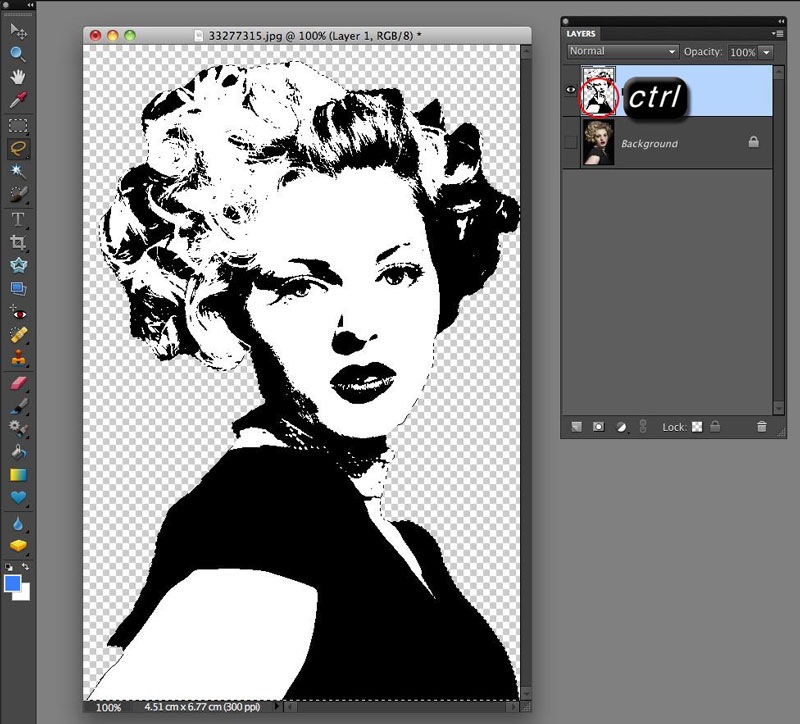
Step 1 Open your image in Photoshop. Step 2 Using your favorite method, make a selection of your subject. Step 3 Press Ctrl+C to copy the selection and then Ctrl+V to paste it on a new layer. Rename this layer to "Subject".

30+ Pop Art Filter Gordon Gallery
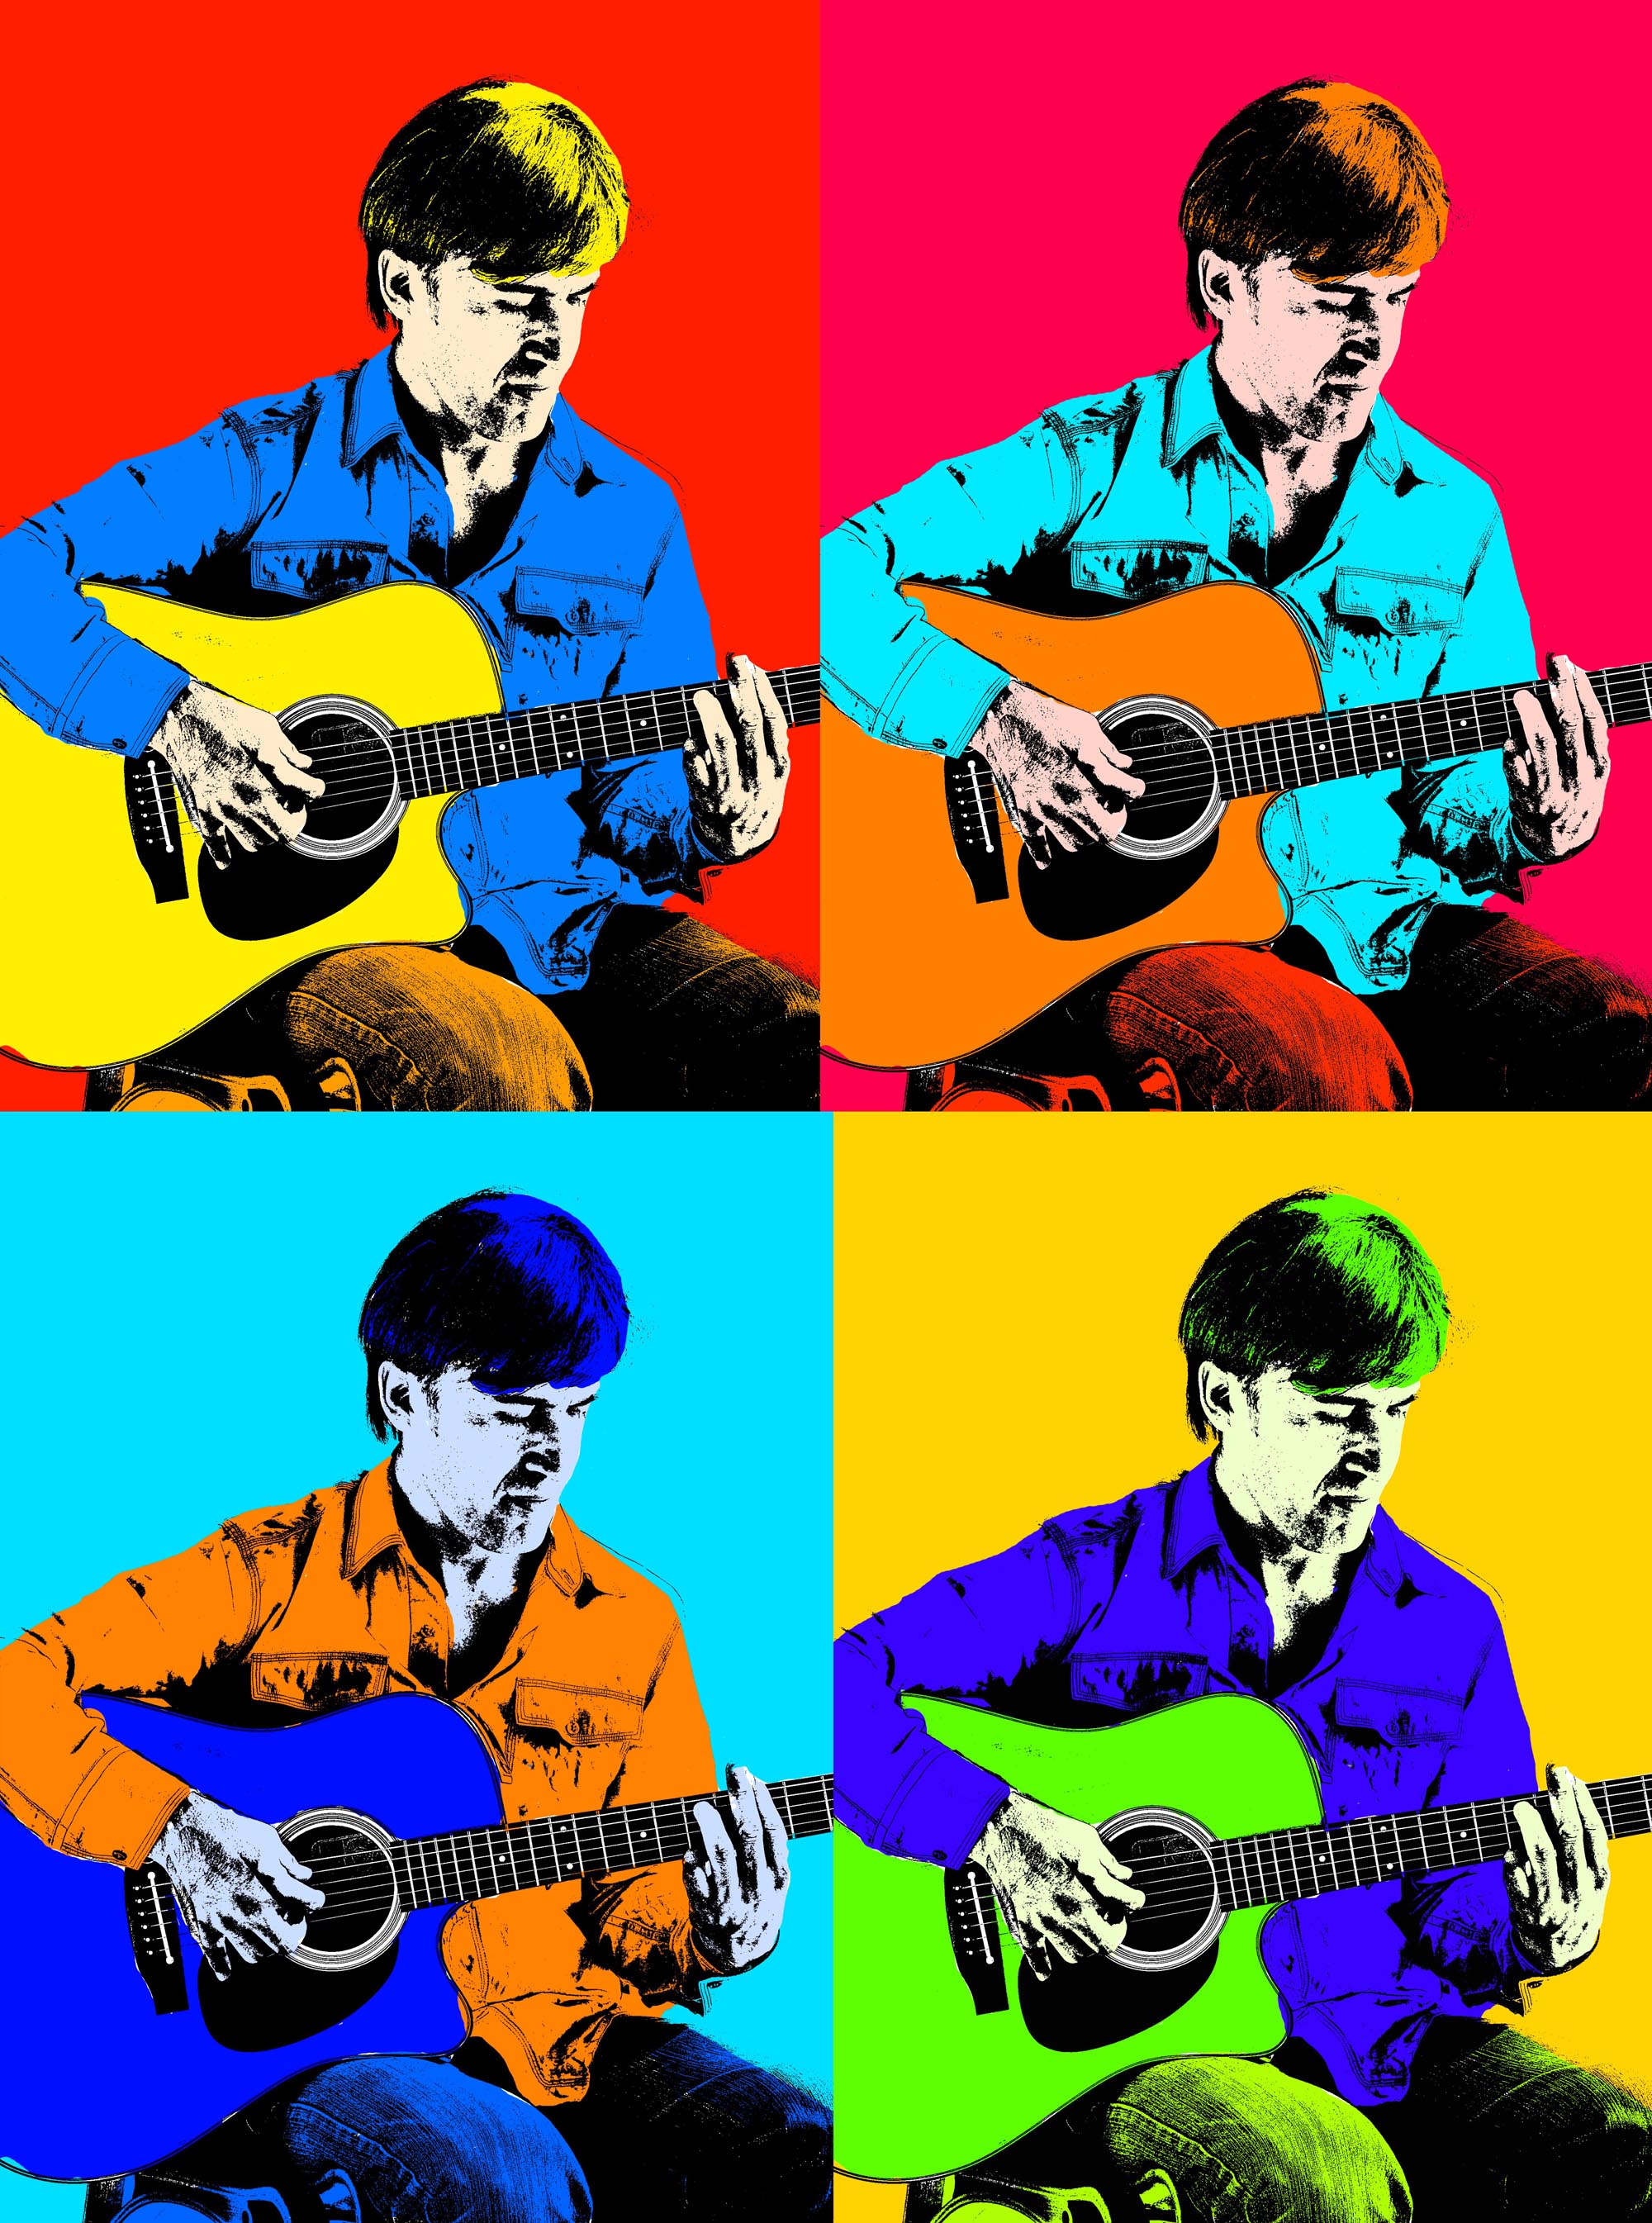
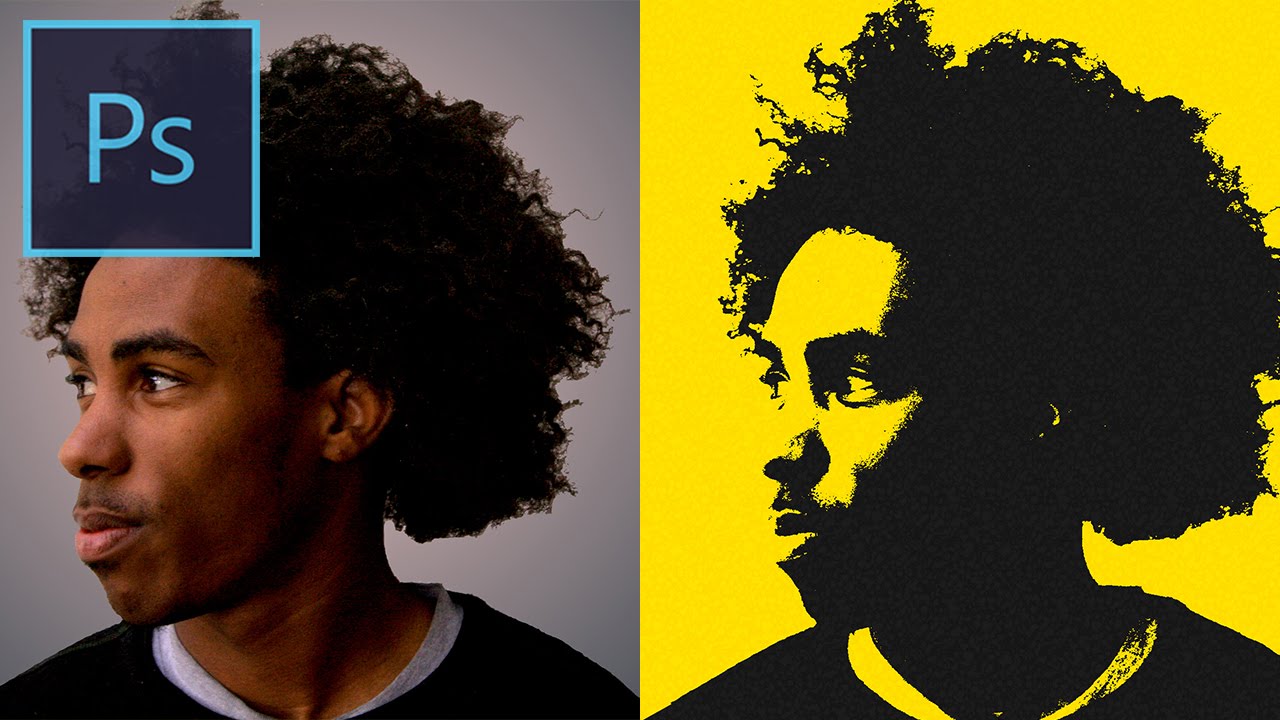
Learn how to create an Andy Warhol pop art photo effect in Adobe Photoshop using filters and color gradients. The Andy Warhol effect is a part of the Pop Art Warhol Effect Photoshop.

46+ Pop Art Filter Free Gordon Gallery
Learn how to create the iconic pop art effect for your photos in Adobe Photoshop with this easy-to-follow tutorial. We'll show you step-by-step how to use th.
How to Create a Pop Art Effect
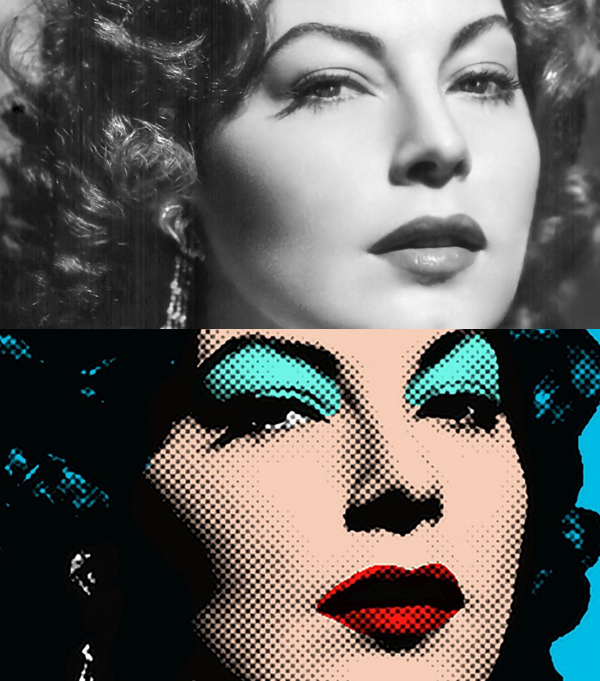
Step 1: Open the selected image you want to use for this filter in Photoshop. As I mentioned, higher contrast images work best for this filter due to their defined light and dark areas. Step 2: Select the Quick Selection tool from the toolbar. The window's top select subject button should be clicked.

30+ Pop Art Filter Gordon Gallery
Select a Cool Portrait for creating the Pop Art Effect, and then follow the below-mentioned steps: Step 1. Open an image in Photoshop as a new document. Step 2. Click on the Quick Selection Tool and make a selection of the model image. Now click on Add Vector Mask button in the Layers Panel to add a Layer Mask.
30+ Pop Art Filter Gordon Gallery
* Experiment with different filters: Photoshop offers a wide range of filters that can further enhance your pop art effect. Explore filters such as "Gaussian Blur," "Unsharp Mask," or "Filter Gallery" to add depth, texture, or other stylized effects to your image.
How to Create a Pop Art Effect in PHLEARN
Simple Pop Art Effect With Photoshop Written by Steve Patterson. In this Photoshop Effects tutorial, we're going to see how to turn a photo into a simple 1950's and 60's pop art-style effect.
How to Create Pop Art in Storyblocks
Step 1 Use the Pen Tool to trace the contour of the woman. Make sure you have the Paths option selected. Step 2 Add anchor points around the area that you want to cut. For this effect, the cutout doesn't have to be perfect. Click on the screen to add a point. While the mouse button is pressed down, drag to create a curved path. 3.

In this tutorial you will learn how to quickly and easily
Open the File in Photoshop To get started, try working with a fun portrait photo. Select an image and open it in Photoshop. Step 2. Select and Mask. Click on the Quick Selection Tool, then click the Select and Mask button. A new window will open. Set the transparency to 50% so that you can still see the image underneath.
46+ Pop Art Filter Free Gordon Gallery
Step 1: Upload a Photo Upload an image using the Open dropdown menu at the top of the page. Or, simply drag and drop an image right into the interface. You can also upload a photo from your BeFunky account, Facebook, and more from the same dropdown. Step 2: Crop and Remove Background Distractions

How to Add a Pop Art Filter to Your Image using Affinity Photo YouTube
Here's how to make a pop art effect in Photoshop. Open your image in Photoshop. Name this layer "Background." Separate your subject. Use the Pen tool to trace your subject, then copy it onto a new layer. Rename this layer "Subject." Add color fill to your background.
CC Tutorial How to create a textured Pop Art Photo Effect
Looking to create some Photoshop pop art? Learn how to easily create a pop art effect with any photo using the Lab color mode. Photoshop Essentials.com - Tutorials and training for Adobe Photoshop.. Go up to the Filter menu, select Artistic, and then select Cutout. This will bring up the massive Filter Gallery set to the Cutout filter options:
